How to Make a French Knot
Even some experienced cross stitchers find the French knot difficult to make, and beginning stitchers are often reluctant to choose patterns containing them. That's unfortunate. I think this technique will make it easier to learn and to execute.
Be sure to see the detailed step-by-step drawings below after watching the video.
You will frequently encounter this knot in cross stitch patterns. Used in the center of flowers, as eyes or curly hair, it has a raised, rounded look. In most cases, though, you will use it as an accent stitch in a small group or scattered in the midst of a larger cross stitched area.

French knots form the antennae and the eyes of this inchworm.
On cross stitch patterns you'll usually see these knots indicated by small filled-in dots. The key or legend will tell you how many strands of floss to use and how many times to wrap it around the needle for each knot. The instructions may be the same for all knots in the pattern or vary by location.
French Knot tutorial
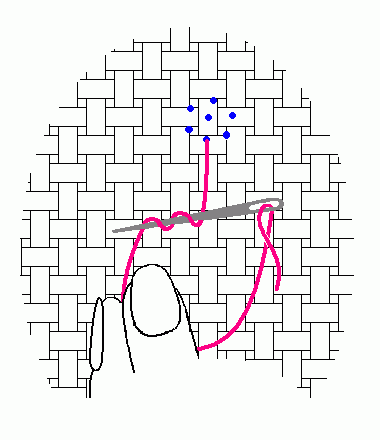
1. Bring the needle up from the back to the front where your first knot is indicated. Holding the floss firmly in your left hand and the needle in your right, wrap the floss around the needle as many times as your pattern indicates (in this example, two times).
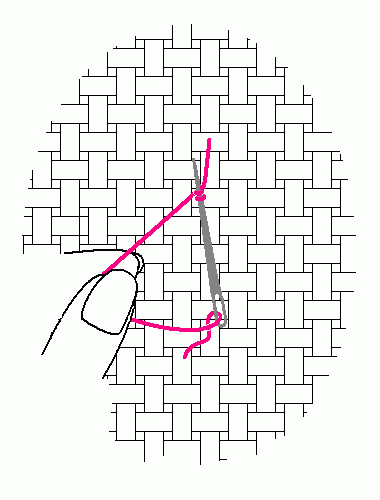
2. Hold the needle in your right hand. With your left, gently pull the floss until the twists tighten around the needle. As you do, the wraps will naturally begin sliding down toward the tip of the needle.
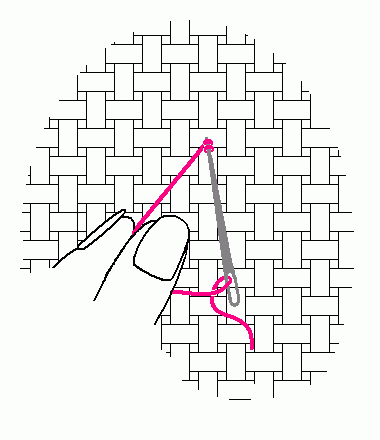
3. Place the point of the needle into the fabric very close to where the floss originally exited the fabric.
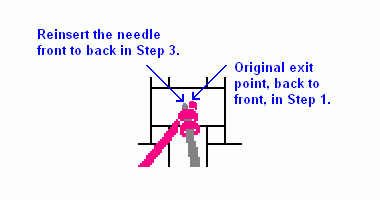
Be careful not to insert the needle into the very same hole that the floss emerged from, or you will likely pull the knot completely through to the back.
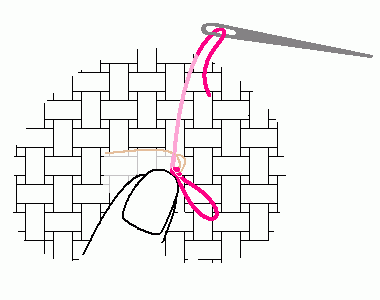
4. Using your thumb on top of the fabric, and your forefinger on the back, grasp the fabric. Use the tip of your thumb or thumbnail to hold the twists in place.
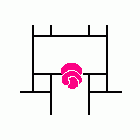
With your right hand, pull the needle and floss through to the back of the fabric. This locks the knot in place and... Violà! A French knot!
If you have a comment or question about this lesson, or if you would like to suggest a new one, please go to our Contact Us page. (We promise not to use your email address for any other purpose.)
Home › How to Cross Stitch › French Knot
